
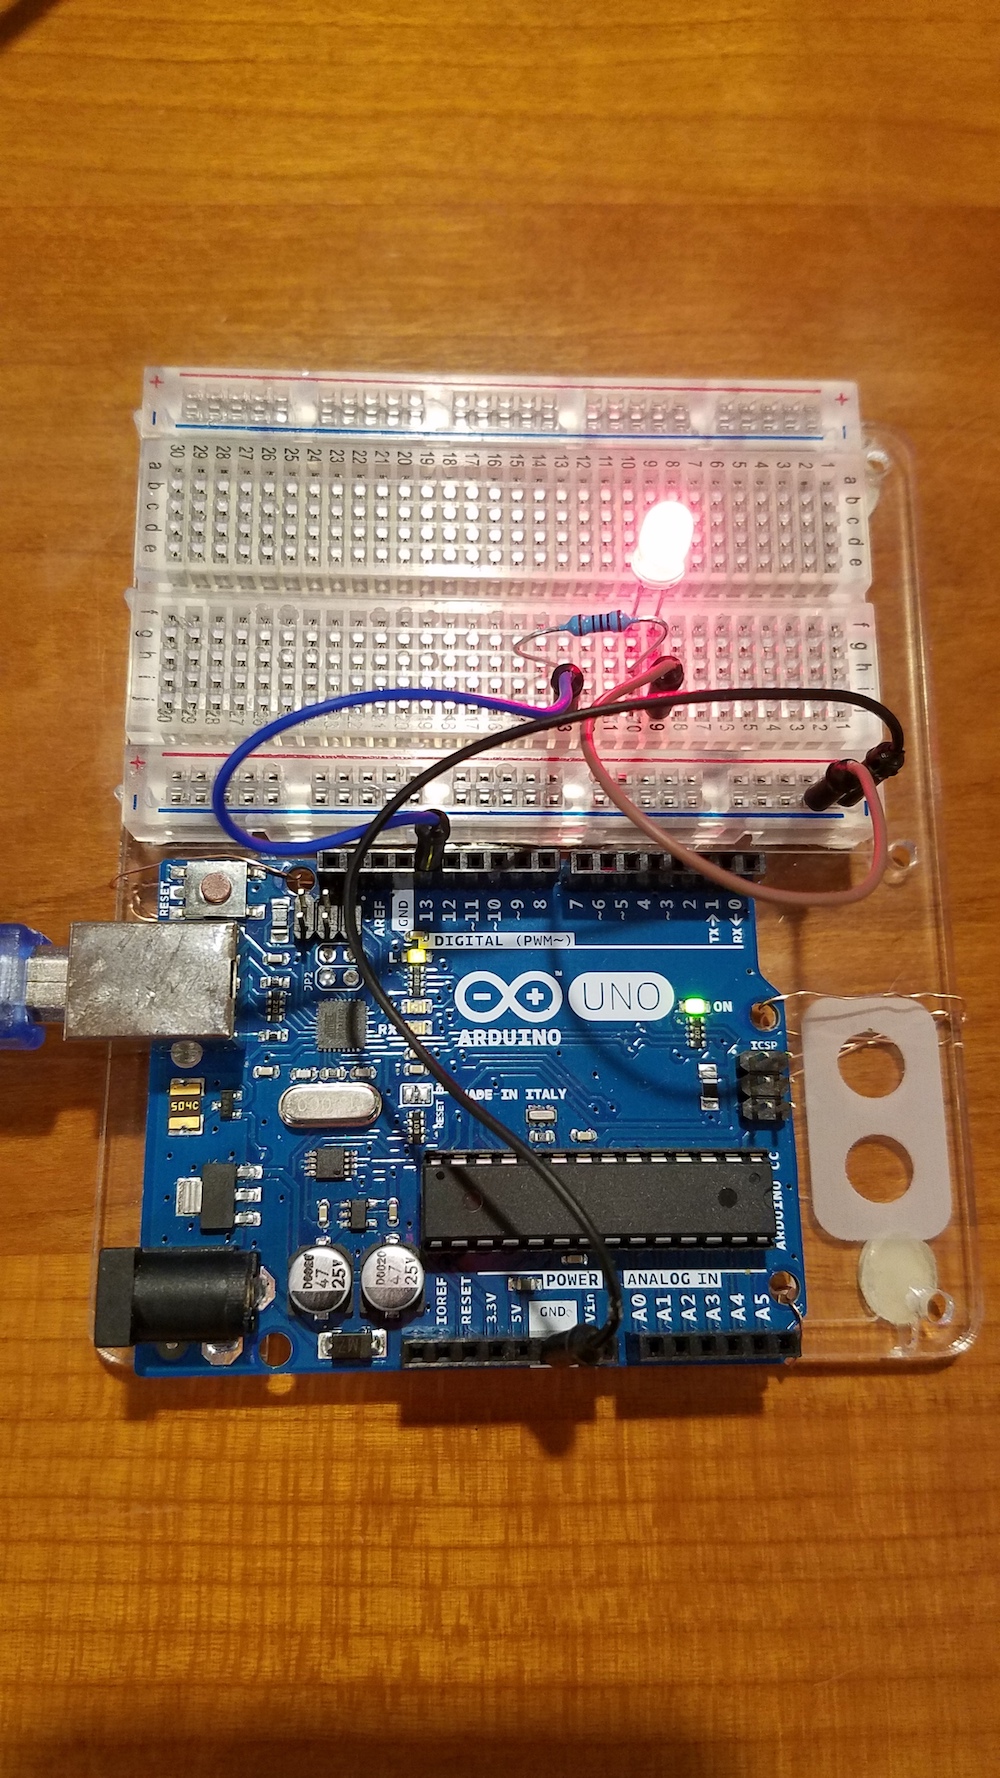
Your first circuit when getting started is “Hello World: Blink”. Here, you will build an LED circuit and program it to blink on (HIGH) and off (LOW) for specific time intervals. In doing so, you will learn how to setup a simple circuit and how to start uploading and editing code with Arduino.
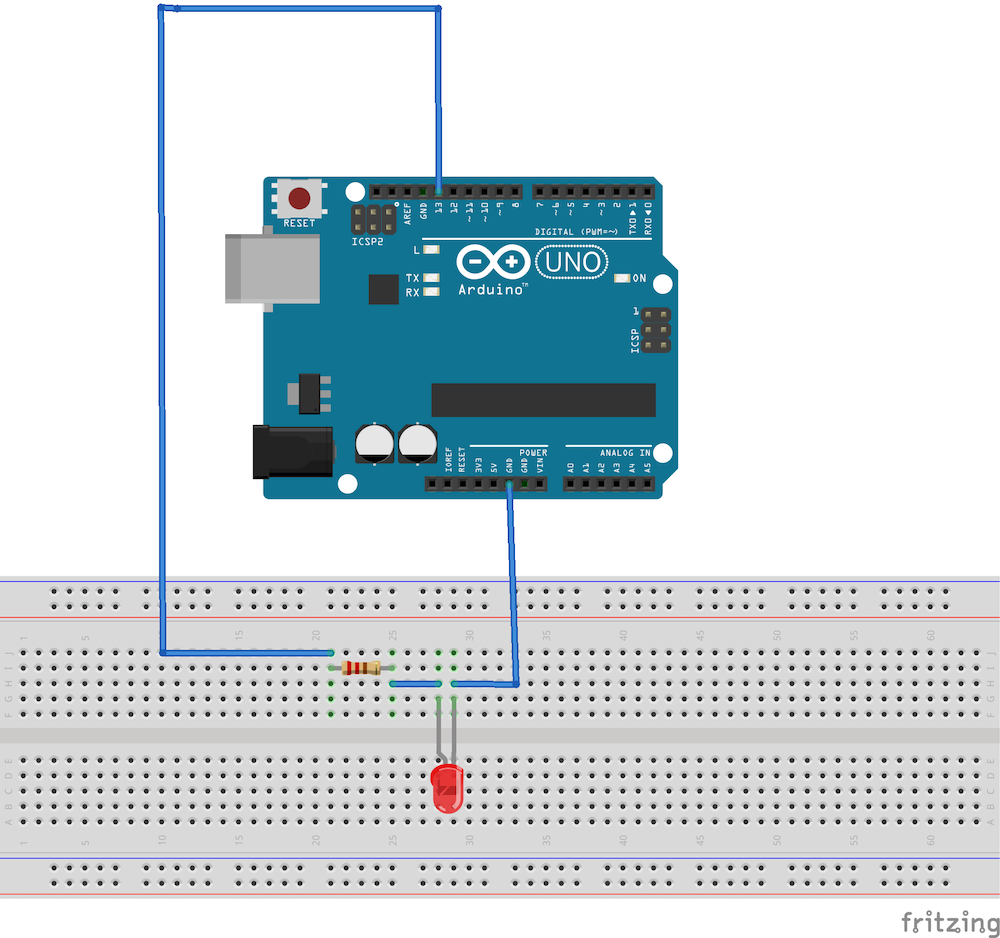
Here is a basic circuit:
To code the blinking LED, declare the pin to which the led is attached, set the pin mode to output, and decide the duration of each blink.
This is one of the basic Arduino examples. To open through Arduino, go to File > Examples > 01.Basics > Blink
/*
Blink

Turns an LED on for one second, then off for one second, repeatedly.

Most Arduinos have an on-board LED you can control. On the UNO, MEGA and ZERO
it is attached to digital pin 13, on MKR1000 on pin 6. LED_BUILTIN is set to
the correct LED pin independent of which board is used.
If you want to know what pin the on-board LED is connected to on your Arduino
model, check the Technical Specs of your board at:
https://www.arduino.cc/en/Main/Products

  modified 8 May 2014
  by Scott Fitzgerald
  modified 2 Sep 2016
  by Arturo Guadalupi
  modified 8 Sep 2016
  by Colby Newman

This example code is in the public domain.

http://www.arduino.cc/en/Tutorial/Blink
*/

// the setup function runs once when you press reset or power the board
void setup() {
// initialize digital pin LED_BUILTIN as an output.
  pinMode(LED_BUILTIN, OUTPUT);
}

// the loop function runs over and over again forever
void loop() {
  digitalWrite(LED_BUILTIN, HIGH);   // turn the LED on (HIGH is the voltage level)
  delay(1000);                       // wait for a second
  digitalWrite(LED_BUILTIN, LOW);    // turn the LED off by making the voltage LOW
  delay(1000);                       // wait for a second
}
Notice the different parts of the code: void setup() runs once when the program starts. This is where you will do things such as declare how a pin will be used. void loop() runs over and over again as your Arduino runs the program. Here, you can include changes that will happen over time.
Try writing your name in Morse Code by adding more digitalWrite HIGH/LOW commands and adjusting the milliseconds of the delays.